A Pro's Guide to DIY PPF Installation

Installing a Paint Protection Film (PPF) kit on your vehicle can seem challenging, but with the right guidance, it's a project you can do yourself. By following our clear, step-by-step instructions, you can achieve a professional-quality finish, protecting your car's paint from scratches, chips, and road debris. Get ready to give your ride the ultimate defense.
About Image

01

Surface Preparation

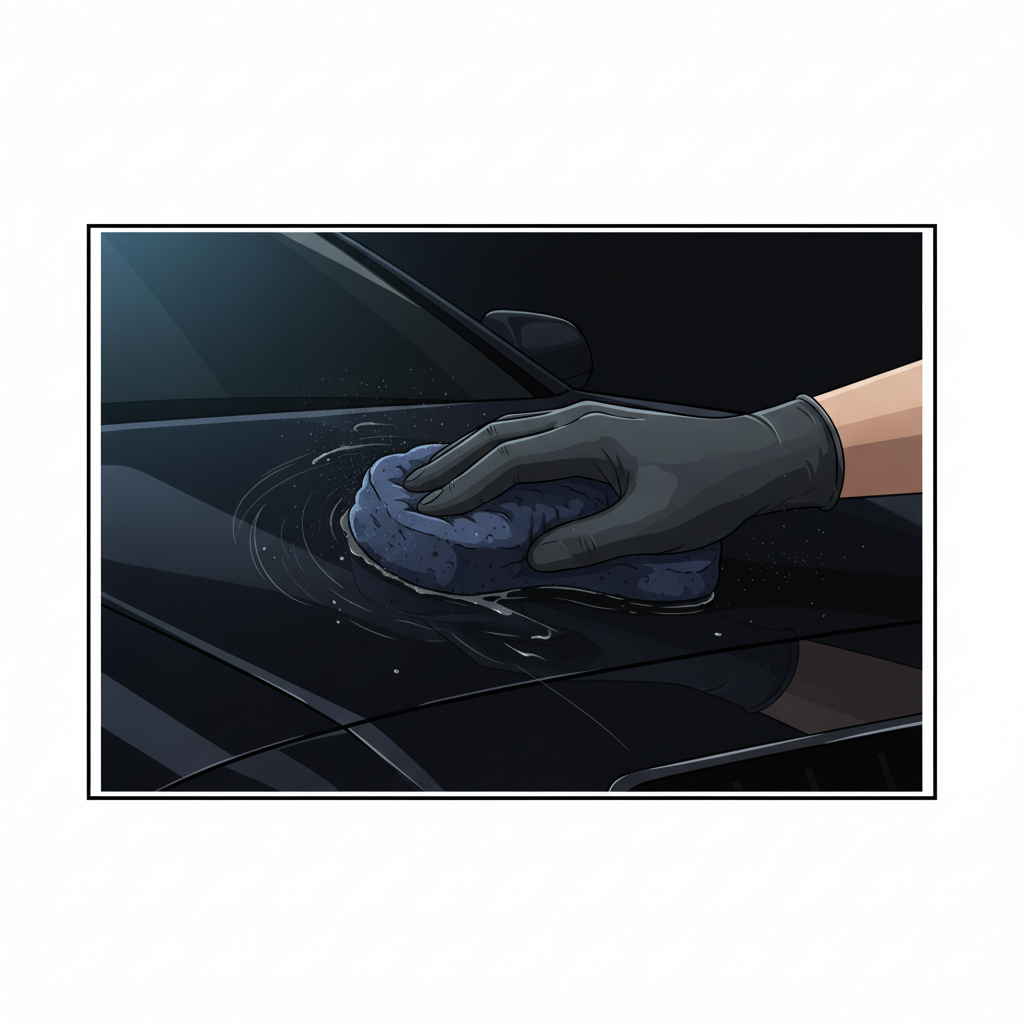
Thoroughly wash and clean the vehicle’s surface to remove dust, wax, and oils. A spotless surface ensures proper adhesion and a flawless finish.
About Image

02

Apply Slip Solution

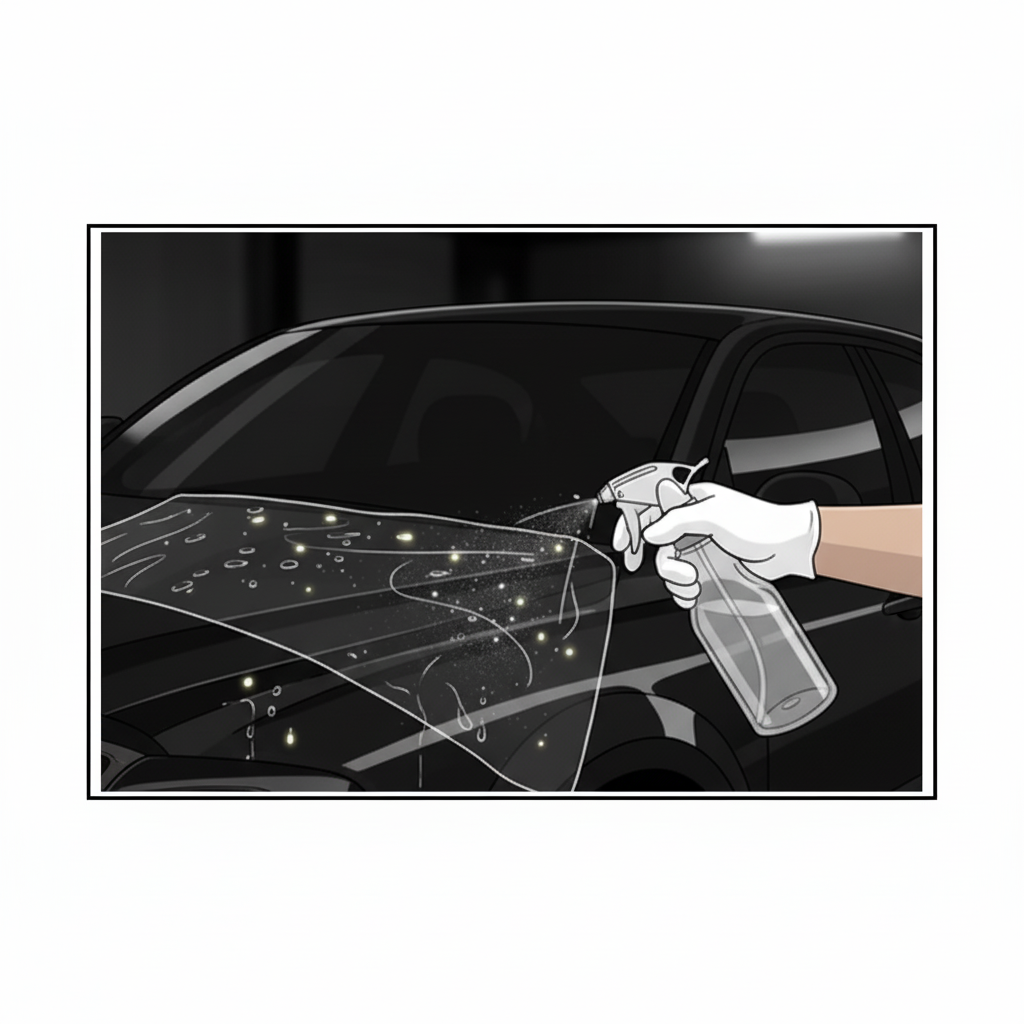
Spray a slip solution (water mixed with a few drops of baby shampoo) on both the vehicle panel and the adhesive side of the PPF. This allows easy repositioning during alignment.
About Image

03

Position & Smooth the Film

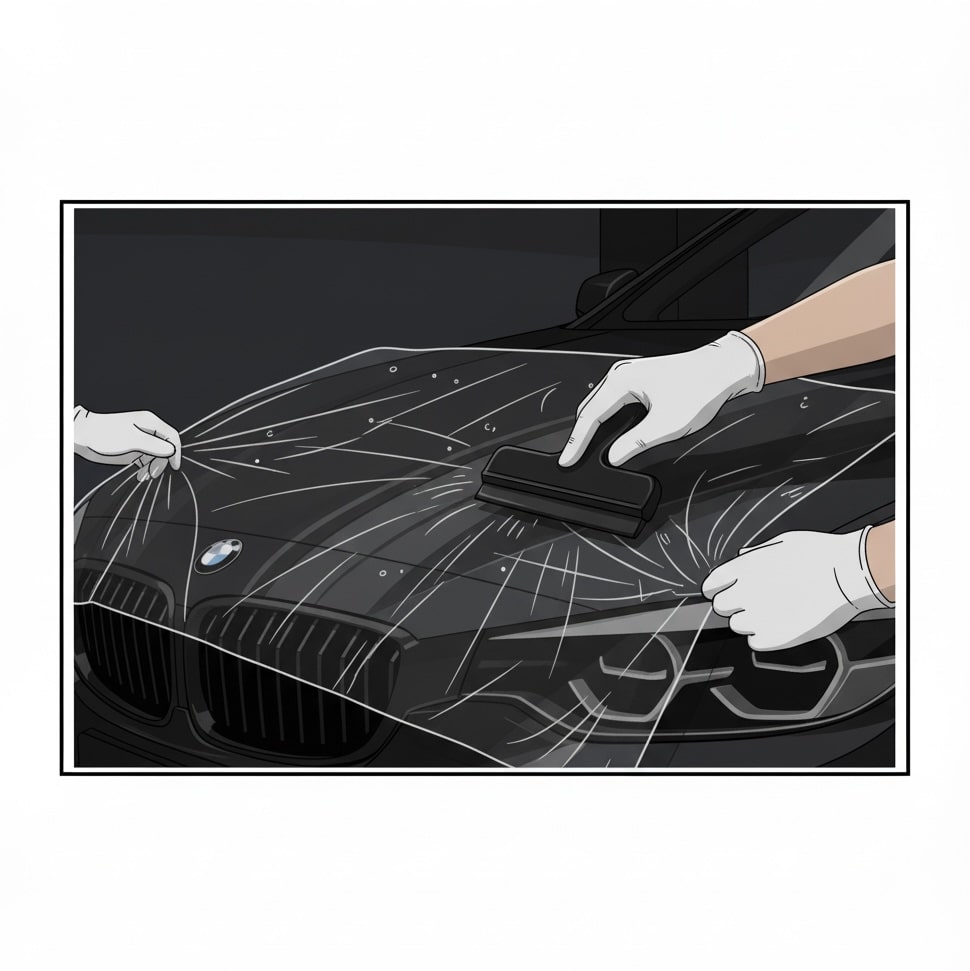
Carefully place the PPF on the panel and align it precisely. Use a squeegee with firm, overlapping strokes from the center outward to remove air bubbles and slip solution.
About Image

04

Secure & Cure

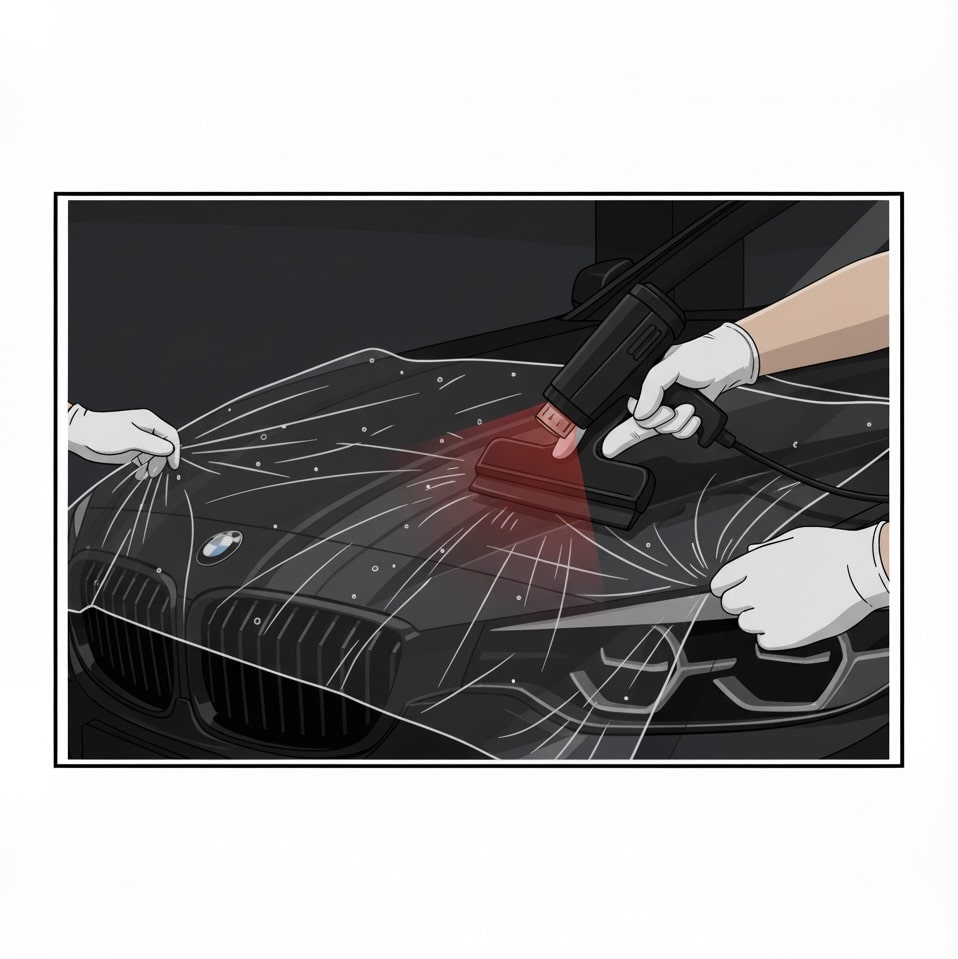
Tack down edges and curves using a heat gun or hair dryer as needed. Allow 24–48 hours for full adhesion and curing. For complex curves and panels, professional installation is recommended.