It’s easy to feel that installing paint protection film (PPF) at home is beyond your capabilities. Typically, car owners are concerned about air bubbles, uneven application, and that their paint might even get worse. But, truthfully, precision-cut kits that are very modern are meant to help the user to take that step, even if he/she have never done it before.
This manual will help you to learn PPF installation step by step and without anxiety because it uses clear instructions and practical tips that enable you to keep away from common errors.
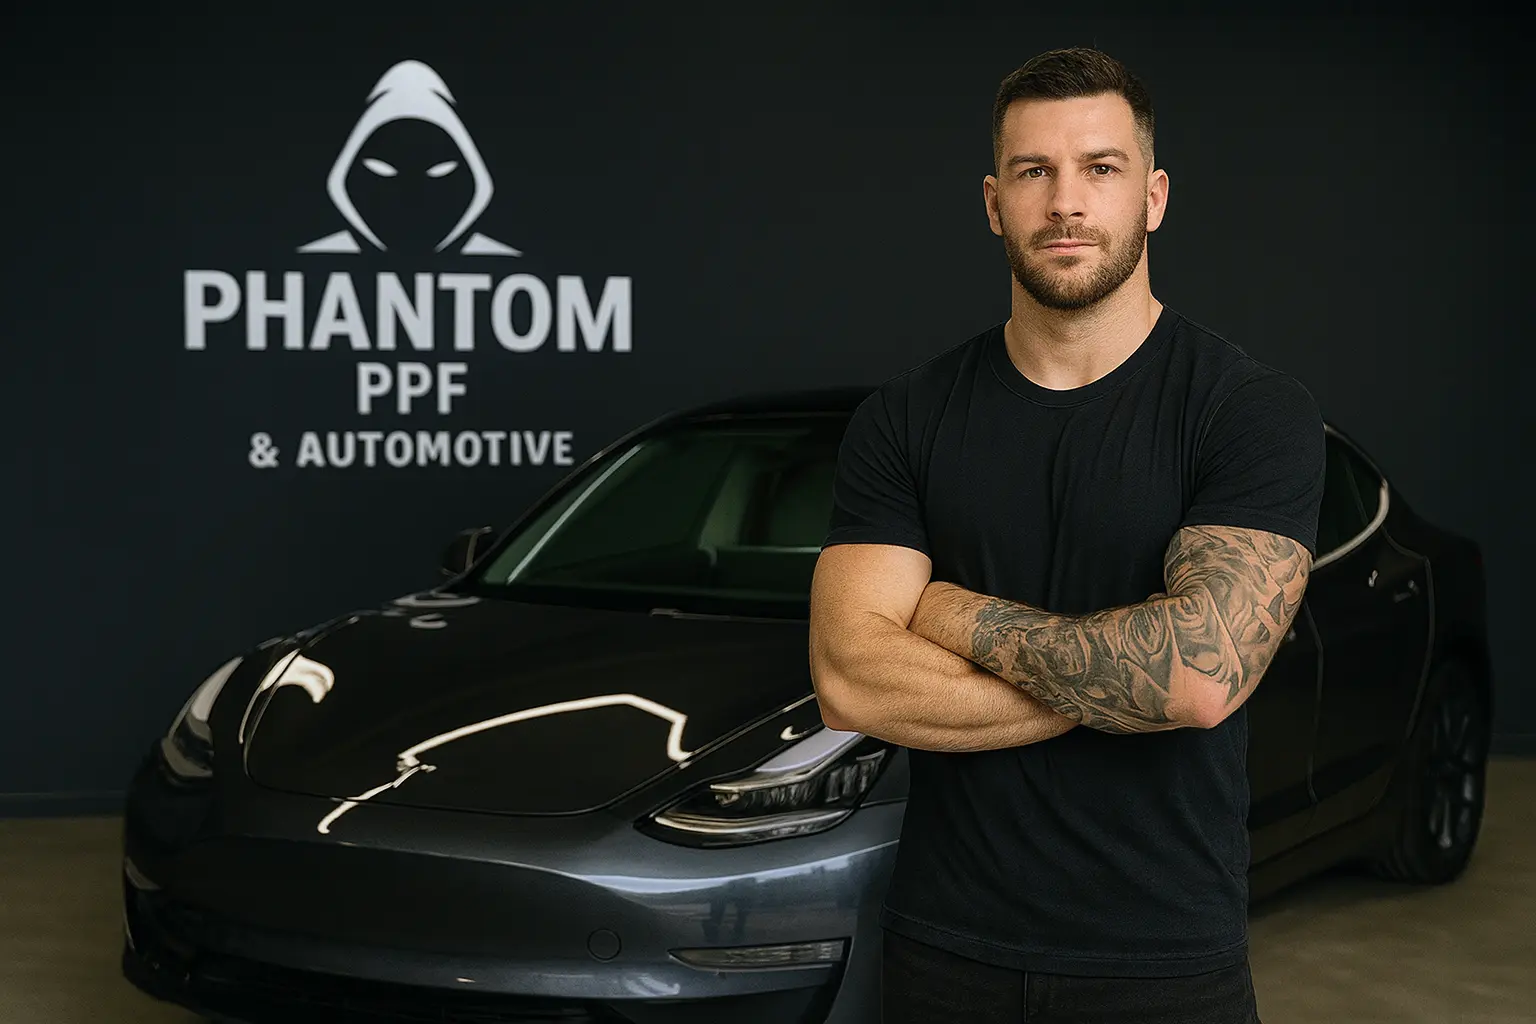
Phantom PPF's purpose is straightforward: to provide an everyday driver with the ability to acquire professional-grade protection without the high professional price. If you keep your patience and follow the right method, you will be able to make it your own garage and have your car look as if a professional has done the job.
Fear is the major obstacle that discourages people from doing this work on their own.
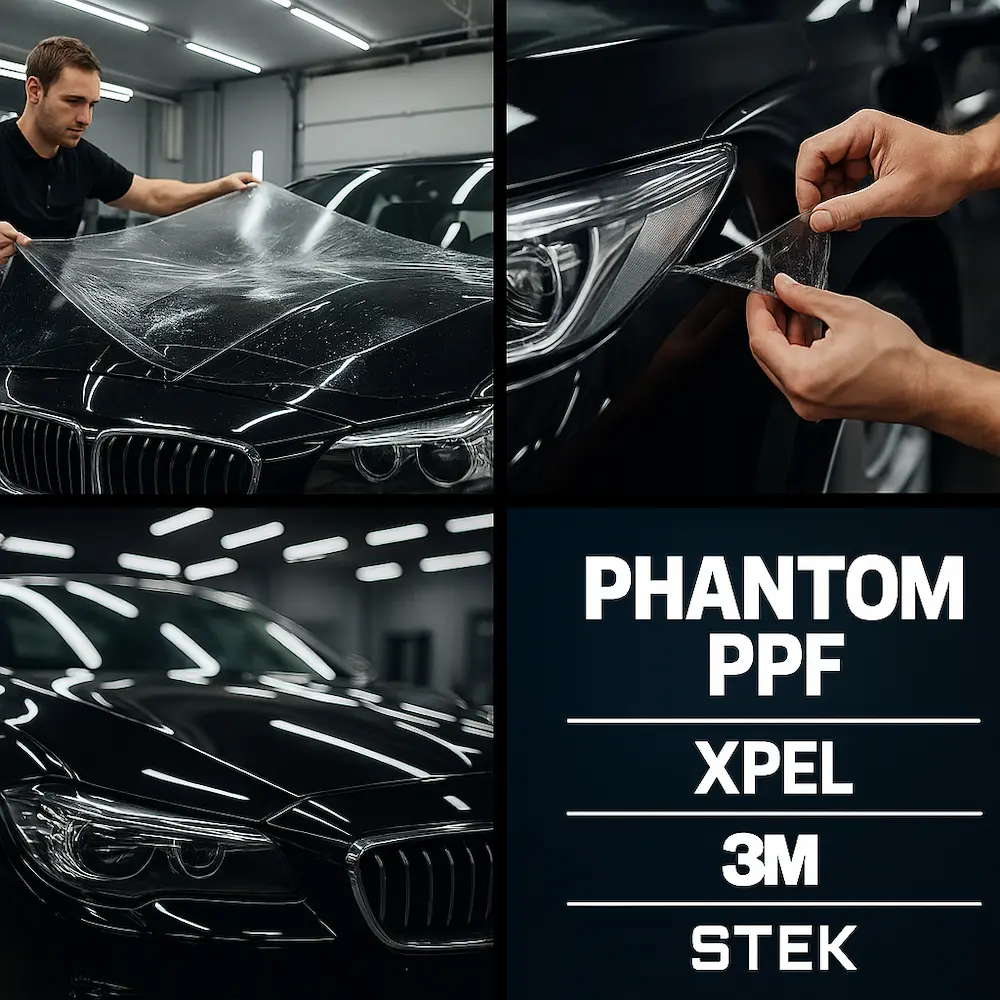
Installation of PPF is thought to be a very difficult task and may even require the knowledge that comes only after a long period of training. These days, however, precision-cut kits have that bulk-cutting film method.
The first step in a top-notch DIY PPF kit is utilizing templates specially made for a particular vehicle that visually fit the hood, bumper, mirrors, and fenders. Therefore, all the steps that were previously simply guesswork have now been removed, because you no longer cut film but rather position and secure it.
What if you decide to follow the instructions and still take your time? You’d most certainly succeed in your PPF installation. Every year it happens to thousands of people who have never done this before, and the result is almost always flawless.
Half of the labor is in the preparation. Make sure you have all the necessary things handy before you start working on your film installation, so you won’t have to break it.
Basic tools and supplies:
The clean garage with no direct sun or strong wind is the perfect place for the work. Besides that, there should be neither any dust nor any sun (even if it is indirect). The reason for this is that these small things bring about to the final outcome being either great or poor.
Start with a thorough wash. Remove dirt, grease, and road film. After washing, inspect the surface closely.
If the paint feels rough, use a clay bar. This removes embedded contaminants that washing alone can’t handle. Once done, wipe all panels with isopropyl alcohol to ensure a perfectly clean surface.
This step sets the foundation. Skipping it increases the risk of bubbles or trapped debris.
Before spraying anything, place each PPF section onto the panel without removing the backing. This helps you understand orientation and alignment.
Precision-cut kits are designed to fit exactly, so this step builds confidence. You’ll see where edges land and how the film wraps around curves.
Think of this as a rehearsal. There’s no pressure here.
Peel the backing from the film and generously spray the adhesive side with slip solution. Also, spray the panel.
This allows the film to float on the surface, giving you time to align it correctly. Gently place the film onto the panel and adjust until it sits perfectly.
This is a key part of how to install paint protection film without stress. The slip solution is your safety net.
Once aligned, spray tack solution along anchor points—usually edges or corners. This helps the film grip the paint.
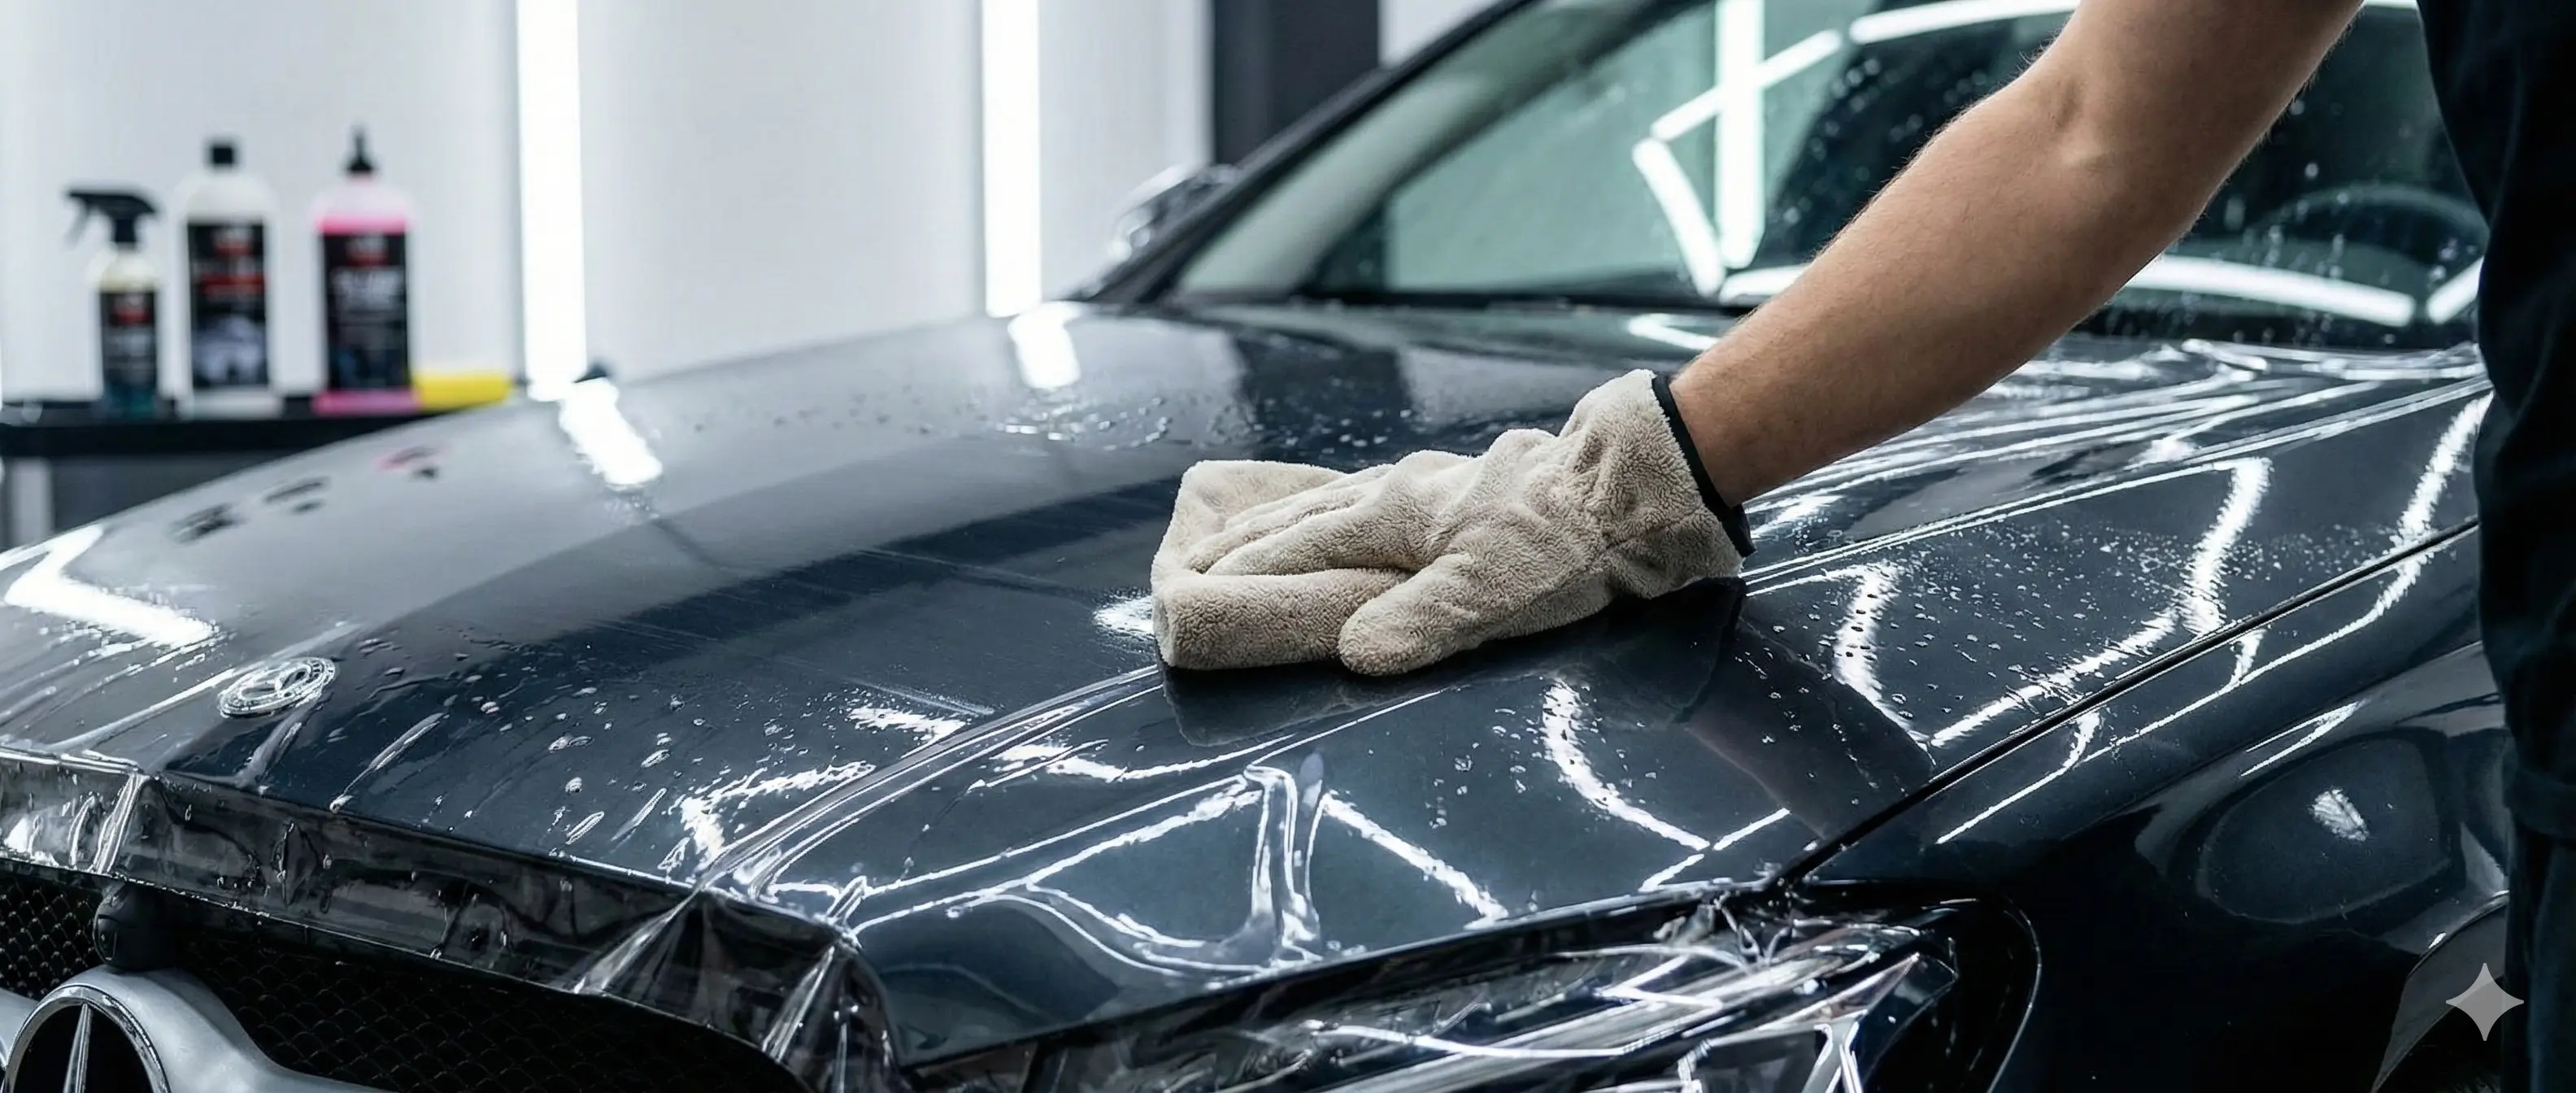
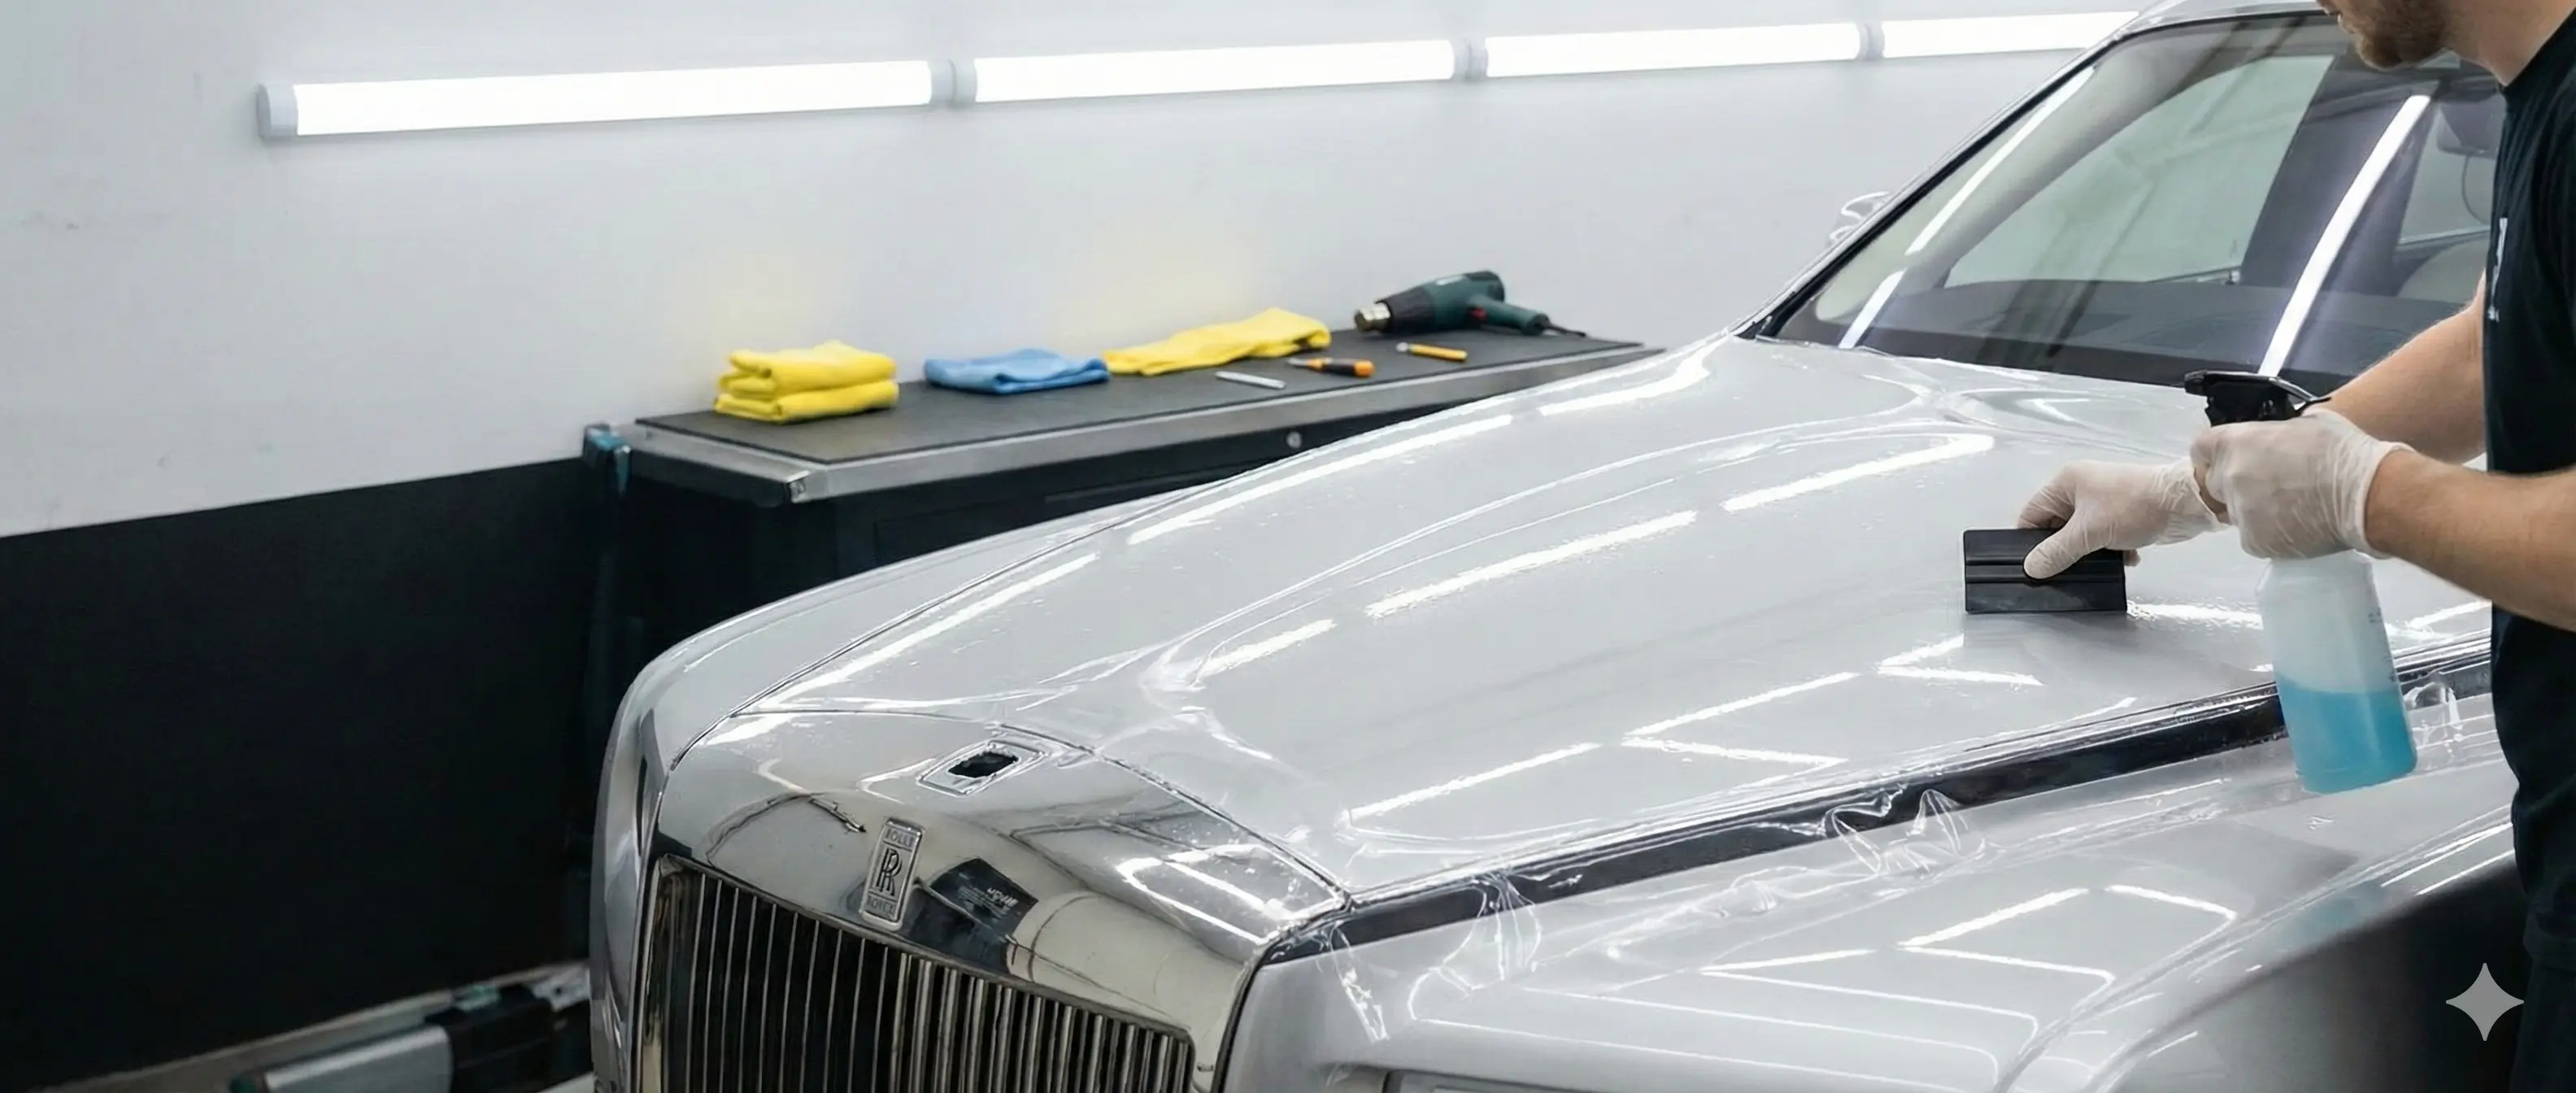
Start squeegeeing from the center outward. Use steady, overlapping strokes. Don’t rush. Let the film settle naturally.
If you see a bubble, lift the film slightly, spray more solution, and re-squeegee. The film is forgiving during installation.
Bumpers and mirrors look intimidating, but they’re manageable. Stretch the film gently using your hands, not force.
Apply tack solution where the film needs to stay put. Use the squeegee to guide the film into recesses and around curves.
Edges should be wrapped where possible. This improves durability and makes the film nearly invisible once cured.
This step separates average installs from great ones—but it’s completely achievable with patience.
Once all pieces are installed, go over each panel slowly. Look for trapped moisture or air. Most small bubbles disappear within 24–48 hours as the film cures.
Use a microfiber towel to gently press down the edges. Avoid washing the car for at least 48 hours.
Congratulations—you’ve completed a successful DIY PPF kit installation.
“I’ll ruin my paint.”
PPF uses a non-permanent adhesive. If something goes wrong, you can lift and reposition during installation.
“It won’t look professional.”
Precision-cut kits are designed to disappear once installed. Clean prep and slow squeegee work make all the difference.
“I don’t have steady hands.”
You don’t need perfection. The film's self-leveling and self-healing properties smooth out light marks over time.
Following a proper PPF application guide eliminates most risks.
Not all films are DIY-friendly. Phantom PPF kits are engineered with beginners in mind.
Key advantages:
This combination reduces stress and increases success, especially for first-time users following a PPF application guide at home.
The cost of professional installations can run into thousands. The DIY method saves money, and at the same time, the same level of protection is achieved. The point, however, is that you have the control.
It’s your pace you work on. It’s your vehicle, you learn. And it’s your confidence that your paint is protected by your own hands that you get.
The next time you have to do paint protection film, it will be even simpler.
DIY is not synonymous with low quality. Thanks to contemporary materials and the thoughtful design, PPF installation at home is doable and brings a sense of accomplishment.
If you are doubtful, then commencing with a full front kit is the way to go. Go at your own speed. Have faith in the work. The apprehension disappears pretty quickly when you realize how the film can be fixed.
The fact is, your car is worthy of being protected. And now, you have the right knowledge to do it—just like a pro.
Is Phantom PPF safe for first-time installers?
Yes, Phantom PPF kits are precision-cut and are made with a material that can be repositioned; therefore, they are safe for beginners.
How long does a DIY PPF installation take?
Typically, a person attempting to install a full front kit for the first time can do it within 6–8 hours; thus, a weekend is enough for this task.
Can I remove or reposition the film if I make a mistake?
Definitely, if at any point during the installation the film needs to be lifted, adjusted, and reapplied, this can be done without the risk of scratching the paint.
How long does Phantom PPF last once installed?
Phantom PPF, which is made with good care, can be a long-term solution to your needs and comes with a 10-year warranty.
When can I wash my car after installing PPF?
People are advised to wait for at least 48 hours before washing their cars after PPF installation in order for the film to cure and bond completely.